How to Work for Sewing Machine
Understanding Your Sewing Machine
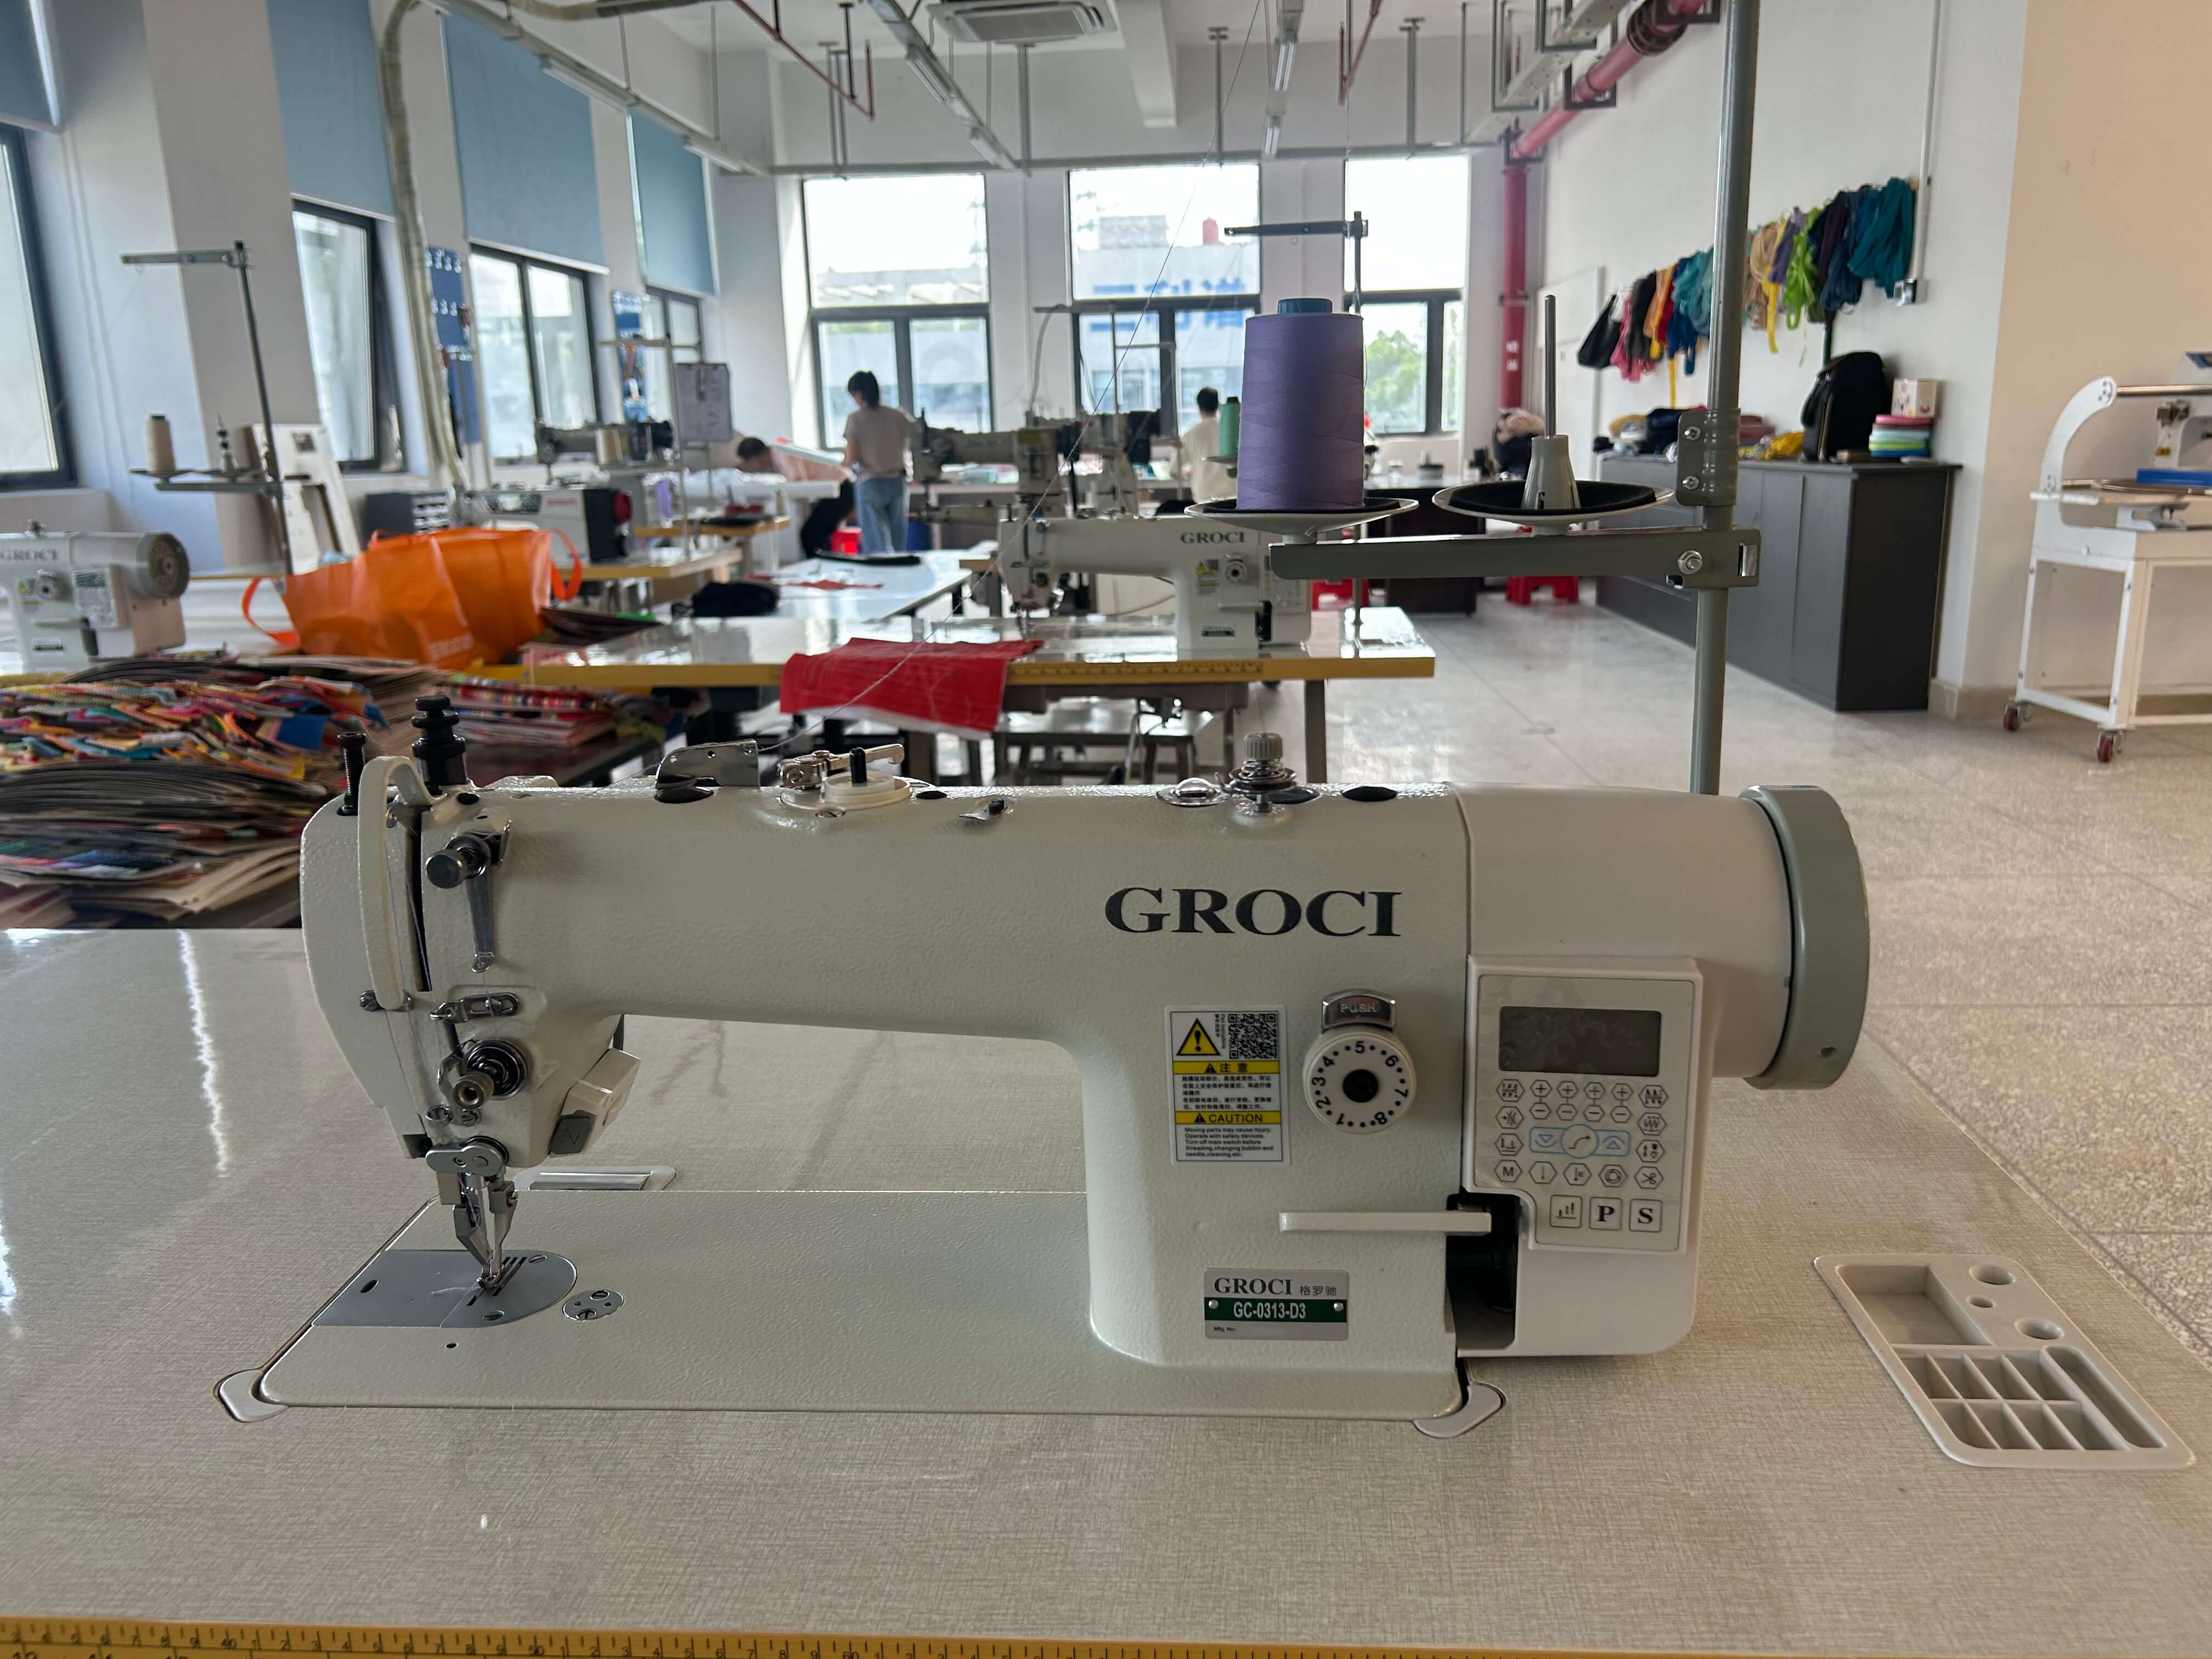
Before diving into sewing, take time to familiarize yourself with the key components of your machine. Most sewing machines share common parts: the spool pin (holds the thread spool), bobbin (holds the lower thread), thread tension dial (controls thread tightness), stitch selector (chooses stitch type and length), presser foot (holds fabric in place), and foot pedal (controls speed). Refer to your machine’s manual to identify these parts specific to your model—this step is crucial as designs can vary slightly between brands like Singer, Brother, or Janome.
Threading the Machine: A Step-by-Step Process
Proper threading is the foundation of successful sewing. Start by placing your thread spool on the spool pin and securing it with a cap. Guide the thread through the machine’s thread guides—these are usually marked with numbers or arrows to indicate the correct path. Next, thread the tension discs, ensuring the thread lies flat between them to avoid loose or tight stitches. Finally, thread the needle, leaving a 4-6 inch tail. For the bobbin, wind it evenly with thread (avoid overfilling) and insert it into the bobbin case, following your manual’s instructions to ensure the thread feeds correctly.
Setting Up Your Fabric
Once the machine is threaded, prepare your fabric. Iron it first to remove wrinkles, which can cause uneven stitching. Place the fabric under the presser foot, aligning the edge with the desired seam allowance (most projects use ½ inch). Lower the presser foot using the lever—this locks the fabric in place. Test the stitch length and tension on a scrap piece of the same fabric; adjust the dials if the stitches are too loose (looping) or too tight (puckering).
Basic Sewing Techniques
To start sewing, gently press the foot pedal—begin slowly to maintain control. Keep your eyes on the seam guide (a marked line on the machine) rather than the needle to ensure straight stitching. When reaching the end of a seam, backstitch a few stitches to secure the thread, then release the pedal. Lift the presser foot, remove the fabric, and cut the threads leaving a small tail. For curves or corners, slow down and pivot the fabric while keeping the needle down to maintain accuracy.
Maintenance Tips for Longevity
Regular maintenance keeps your sewing machine running smoothly. After each use, clean the bobbin area with a small brush to remove lint and thread fragments. Oil the machine as recommended in your manual—typically every 8-10 hours of use—to prevent friction. Store the machine in a dust-free case when not in use, and avoid exposing it to extreme temperatures or moisture. If you notice unusual noises or skipping stitches, troubleshoot by rethreading the machine, changing the needle (dull needles cause issues), or adjusting the tension.
Common Mistakes to Avoid
Beginners often struggle with issues like thread bunching, which is usually caused by incorrect threading or a loose bobbin. Always double-check the threading path and ensure the bobbin is inserted correctly. Another common error is using the wrong needle for the fabric—lightweight fabrics (like silk) require fine needles, while heavy fabrics (like denim) need thicker ones. Additionally, pulling or pushing the fabric while sewing can distort stitches; let the machine feed the fabric at its own pace.
With practice, using a sewing machine becomes second nature. Start with simple projects like a tote bag or pillowcase to build your skills, then gradually tackle more complex designs. Remember, every sewer makes mistakes—they’re part of the learning process. By following these steps and staying patient, you’ll soon be creating beautiful, handcrafted items with confidence. Happy sewing!
How to make the pencil case